This is a future validation protocol: FC connection, pre-flight checklist, input and failsafe checks, a short manual flight, landing and telemetry review. At this stage, KairOS permits only SITL and propeller-free bench use.
KairOS has not passed flight validation and is not intended to control a real vehicle at this stage.
KairOS repository ↗On this page +
What you will do and what this guide does not guarantee
The goal is to define the complete operator cycle: connection, pre-flight, input verification, arm, takeoff, a short manual flight, landing and post-flight review. Until KairOS’s own hardware and flight validation, the sequence is performed only in SITL or on a bench with propellers removed.
Vehicle, calibration and equipment
- A mechanically sound and previously checked airframe; fasteners, arms, landing gear and payload secured.
- A flight controller with ArduPilot, PX4, Betaflight or iNav; the exact firmware/version verified.
- Accelerometer, compass, gyroscope and RC/gamepad mapping calibrated; FC orientation matches its installation.
- Propellers of the correct type and direction fitted only after bench checks without propellers.
- A fully charged flight battery and separate stable power for companion electronics.
- Direct USB or Wi-Fi/4G/field link through Drone Agent; Mission Control open and understood by the operator.
- Gamepad or keyboard; an Xbox-style controller is the target profile for the Web Gamepad API.
- An open, authorized area clear of people, animals, vehicles, wires, airports and restricted zones.
Connect the FC and wait for a verified handshake
Direct USB
Connect a data cable, open http://localhost:4000, click Connect, choose the serial port and wait for heartbeat/capabilities/parameters.
Field network
Power on the vehicle; the Agent should start automatically. Connect the laptop to the same LAN, USB tether or Ground Agent AP, then select the discovered node or enter its IP/mDNS address.
- The top bar displays firmware family, vehicle type and version.
- Connection status turns green only after live telemetry, not merely after a socket opens.
- The target handshake takes 2–5 seconds; diagnose timeouts rather than masking them by pressing Arm again.
- Before continuing, confirm that the selected node is the actual vehicle in use.
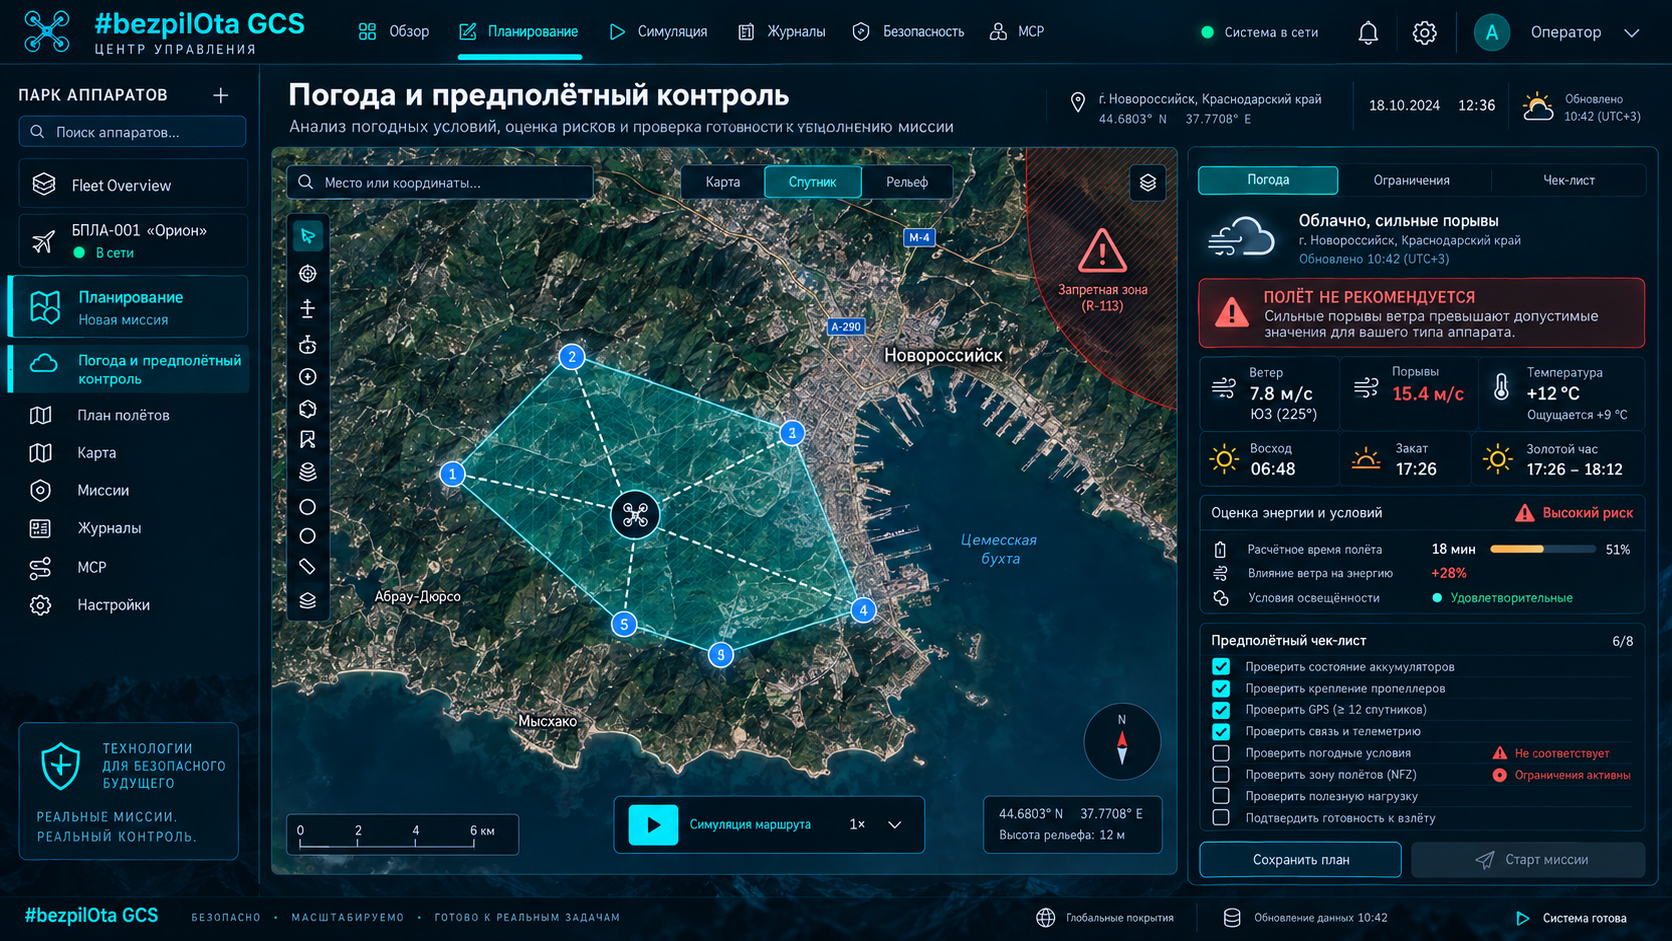
Complete pre-flight checks with no red errors
| Check | Expected result |
|---|---|
| GPS | 3D Fix or better; 8+ satellites as the target minimum for field validation; HDOP <2; RTK state if used |
| Battery | Matches full pack voltage—for example, about 25.2 V for 6S; >80%; current near 0 A on the ground |
| Attitude | Artificial horizon level; roll/pitch respond in the correct direction |
| Input | RC/gamepad channels move correctly; throttle minimum; trims centered |
| Mode | Stabilize or Altitude Hold for the first flight; not Auto, Guided or Loiter as an unfamiliar starting mode |
| PreArm | All failures resolved; do not bypass checks merely to take off |
Planning allows 2–3 minutes for RC and compass calibration, but correct results matter more than the timer. If the horizon is tilted, the compass reports variance, GPS has no position fix or battery telemetry is doubtful, postpone the test.
Verify controls before arming
| Input | Action |
|---|---|
| Left stick vertical | Throttle |
| Left stick horizontal | Yaw |
| Right stick vertical | Pitch |
| Right stick horizontal | Roll |
| Keyboard W / S | Pitch |
| Keyboard A / D | Roll |
| Arrow Up / Down | Throttle |
| Arrow Left / Right | Yaw |
The gamepad should appear in the Flight Control tab; sometimes a button press is needed to wake it. The target KairOS system sends MANUAL_CONTROL MAVLink at 50 Hz. Check PILOT_THR_BHV, RC override policy, dead zones and every axis direction. Bluetooth can add latency; USB is preferable for the first test.
Arm only from a safe distance and with explicit confirmation
Clear area
Everyone is behind the safety boundary; the vehicle’s orientation is predictable; the operator has an unobstructed view of it.
Confirm mode + throttle
Stabilize/AltHold chosen deliberately, throttle minimum, sticks neutral.
Arm
Click Arm and confirm. The UI waits for ACK/heartbeat and displays ARMED.
Observe motors
Idle spin depends on MOT_SPIN_ARM. Any incorrect motor direction, vibration or unexpected throttle calls for immediate disarming.
| Typical rejection | What to fix |
|---|---|
| Need 3D Fix | Wait for GPS in an open area or choose an authorized non-GPS test only with full understanding of the mode |
| Battery failsafe | Check charge, voltage/current sensors, cell count and threshold |
| Compass variance | Remove interference, calibrate and check orientation |
| Gyros inconsistent | Keep the vehicle still and let sensors warm up for about 30 seconds |
Climb to 2–3 meters and stop
In future field validation, increase throttle slowly; hover often occurs at 40–60%, depending on the vehicle. In Altitude Hold/Loiter, centered throttle holds altitude, above center commands climb and below center commands descent. Choose the mode according to firmware specifications and preliminary test results.
Lift cleanly
Do not drag the vehicle along the ground; climb smoothly through ground effect.
Hold 2–3 m
Stop climbing and check drift, oscillation, vibration and response.
Abort early
If behavior is unpredictable, land gently; do not continue just to finish the guide.
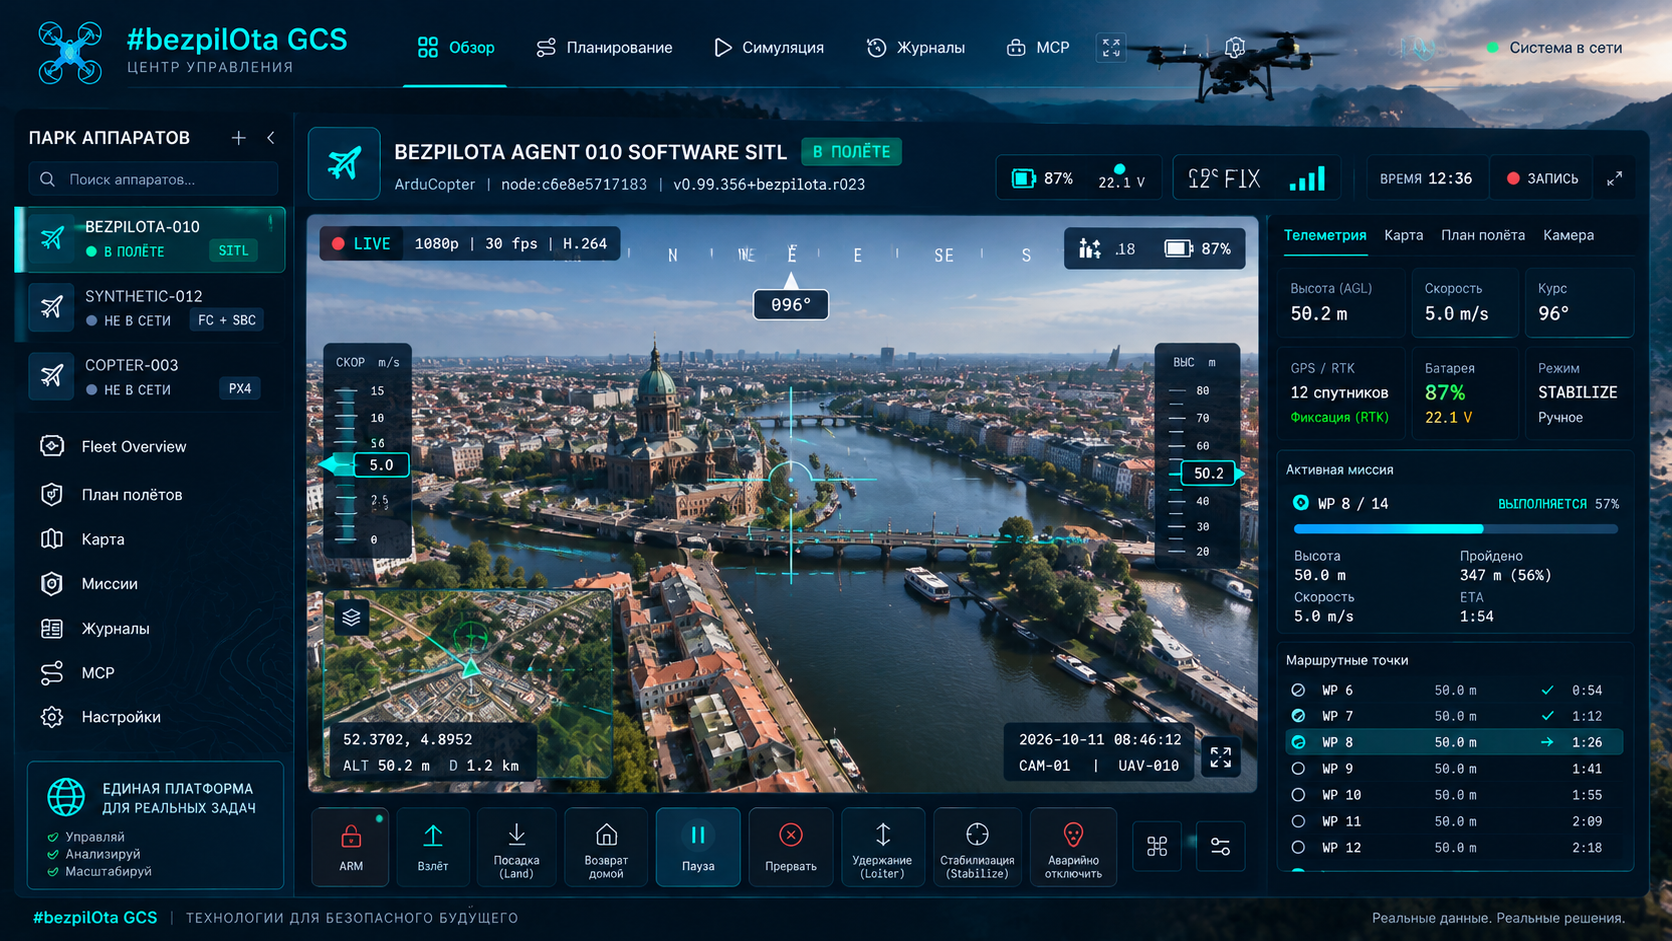
Short commands, continuous monitoring
- Pitch—forward/backward movement; Roll—left/right; Yaw—rotation; Throttle—vertical control according to mode.
- Monitor altitude, ground speed, battery voltage and sag, distance from home, flight mode and link state.
- Apply one small input at a time and return to hover to check the response.
- Loiter can hold position/altitude, but only with healthy GPS/EKF and a previously verified mode switch.
- Do not switch to Auto/Guided or test geofence/failsafe for the first time in a small area.
Understand what each mode holds
| Mode | Target behavior | Requirements |
|---|---|---|
| Stabilize | Full manual control with auto-level attitude | Familiar operator input |
| Altitude Hold | Holds altitude around centered throttle | Barometer and correct throttle behavior |
| Loiter | Holds position and altitude | GPS/EKF health |
| PosHold | Firmware-dependent hold mode with accelerometer-oriented control | Do not assume universal safety without firmware-specific verification |
Land predictably using the chosen method
| Method | Complete flow |
|---|---|
| Manual descent | Descend at about 0.5–1 m/s; after touchdown, hold minimum throttle for about 2 s; auto-disarm depends on configured DISARM_DELAY |
| Land mode | The FC performs controlled descent and disarms after touchdown; the operator remains ready to switch modes |
| RTL | Climb to configured altitude, return home and land; requires verified GPS, home, altitude and route |
After the propellers stop, the UI should show DISARMED. If automatic disarming did not occur, use Disarm only after physical touchdown and after confirming the vehicle will not try to restore thrust.
Review telemetry and logs before the next flight
- Open the map track and compare the actual trajectory with operator commands.
- Check altitude, mode changes, GPS, EKF, vibration, current draw, link events and failsafe messages.
- ArduPilot stores onboard .bin logs; download them through the log browser or USB and save them with a configuration snapshot.
- For ArduPilot, use firmware.ardupilot.org and firmware-specific analysis; KairOS does not replace FC manufacturer documentation.
- A battery below about 3.5 V/cell under load may indicate aging or excessive sag; compare against the pack specifications.
- If a failsafe or warning occurred, shorten or cancel the next flight until the cause is understood.
Diagnose symptoms rather than hiding them
| Symptom | Checks |
|---|---|
| Drift to one side | Compass interference/calibration, FC orientation, level calibration, trim |
| Oscillation or vibration | Propellers/motors/frame, vibration logs, PID; Autotune only in a separate safe scenario |
| Gamepad lag | Chrome/Edge, USB instead of Bluetooth, frame rate, browser-tab focus |
| Frozen/black video | Agent video service, transport selection, camera device and format |
| Check firmware | Target minimums: ArduPilot 4.0+, PX4 1.12+, Betaflight 4.3+, iNav 7.0+; actual support requires verification |
kairos status
journalctl -u kairos-video -n 20 --no-pagerThe essentials you must not skip
- Arm only at a safe distance from people and objects.
- Keep initial flights short and low; increase complexity gradually.
- Maintain visual line of sight and situational awareness.
- Know what happens during RC loss, GCS loss, low battery and GPS/EKF failure.
- Fly in an open, authorized area away from airports, restricted airspace and crowds.
- Check current local rules before each flight session.
- The operator remains responsible even when using automated modes and the KairOS UI.